Webアプリのひな型を一発で作ってくれる便利ツール「Yeoman」には、Office アドイン用のGenerator「YO OFFICE」が用意されています。
今回はこのGeneratorを使ってOffice アドインのひな型を作成する方法を紹介します。
Yeomanの概要
下記Webページを見れば、Yeomanの概要がつかめるかと思います。
- あなたのWeb開発人生を変えるYeoman、Bower、Yoのインストールと使い方
- http://www.atmarkit.co.jp/ait/articles/1407/02/news040.html
- 今話題のワークフロー構築ツール「Yeoman」とは?:WEB制作を効率化! Yeomanを使ってみよう! 第1回
- https://www.engcafe.tv/?p=10791
- ウワサの便利ツール「Yeoman」とは
- http://www.domore.co.jp/mobilelab/design/%E3%82%A6%E3%83%AF%E3%82%B5%E3%81%AE%E4%BE%BF%E5%88%A9%E3%83%84%E3%83%BC%E3%83%AB%E3%80%8Cyeoman%E3%80%8D%E3%81%A8%E3%81%AF
Node.jsのインストール
Yeomanは、Node.jsのパッケージ管理マネージャであるnpmで導入するので、まずはNode.jsをインストールする必要があります。
(npmはNode.jsと一緒にインストールされます。)
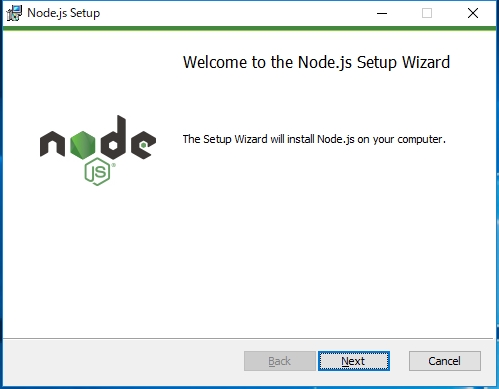
- 公式サイトからNode.jsのインストーラーをダウンロードします。
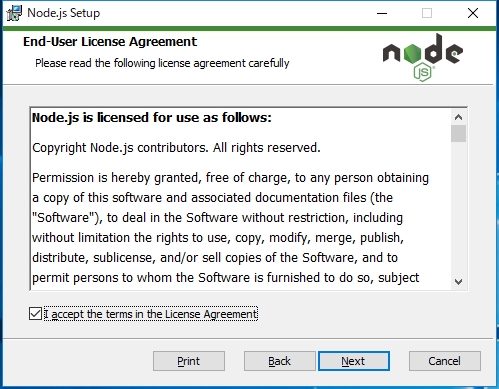
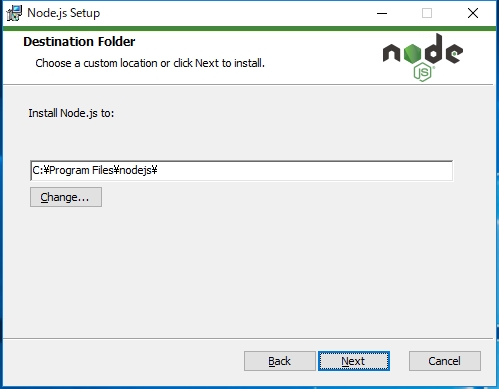
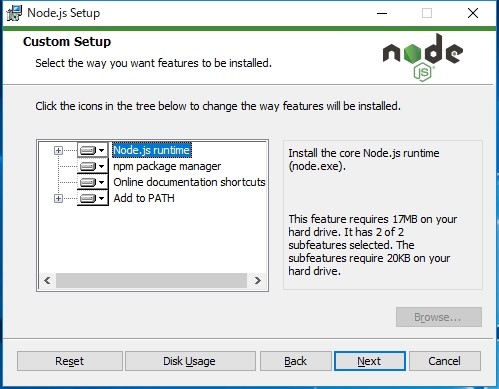
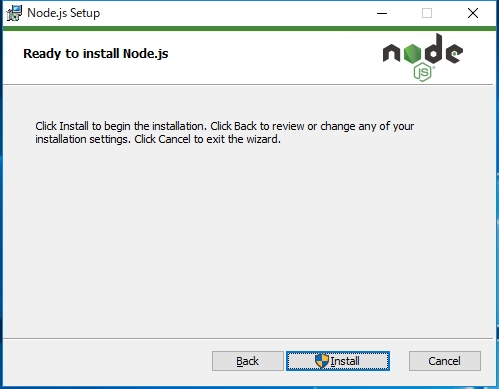
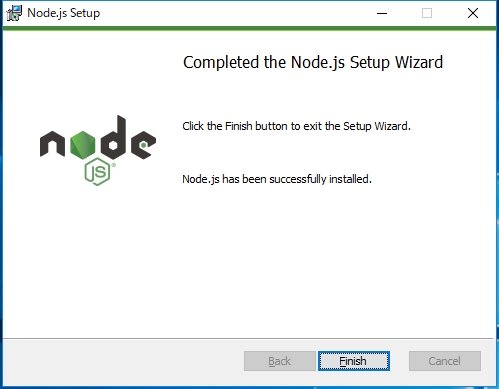
- 手順1.でダウンロードしたインストーラーを実行し、指示に従ってインストールを行います。インストール時のオプションは特に変更する必要はありません。
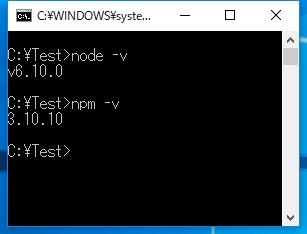
- インストール後、コマンドプロンプトから「node -v」「npm -v」コマンドを実行して、それぞれのバージョンが表示されれば無事にインストール終了です。
YO OFFICEのインストール
npmインストール後、コマンドプロンプトから下記コマンドを実行すれば、自動的にYO OFFICE(Yeoman)がインストールされます。
npm install -g yo generator-office
YO OFFICEを使ってOffice アドインのひな型を作成する
Yeomanのインストールが終わったら後は簡単です。
YO OFFICEを実行して質問に答えていくだけで、Office アドインのひな型ができあがります。
- コマンドプロンプトを実行し、Office アドインのひな型を出力するフォルダに移動します(例:C:\Test)。
- 「yo office」コマンドを実行し、ひな型作成を手助けしてくれるオジサン(笑)を呼び出します。
-
いくつかの質問(下記参照)が表示されるので、それぞれに答えていきます。
- Would you like to create a new subfolder for your project?
- What do you want to name your add-in?
- Which Office client application would you like to support?
- Would you like to create a new add-in?
- Would you like to use TypeScript?
- Choose a framework:
- Would you like to open it now while we finish creating your project?
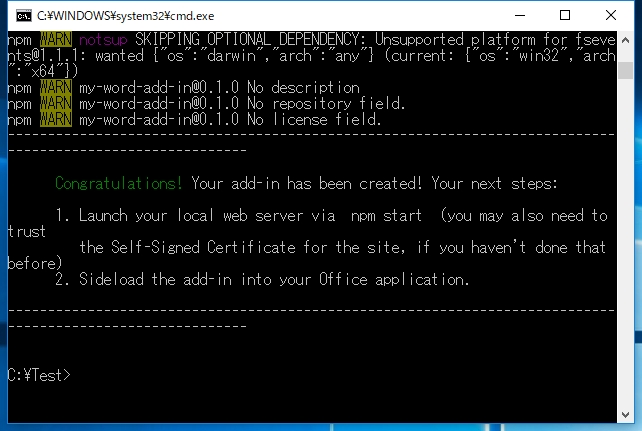
- 最後の質問に答えると、手順1.のフォルダ以下にOffice アドインのひな型一式が出力されます(例:C:\Test\my-word-add-in)。

自己署名証明書の追加
作成したひな型を使えば、すぐにOffice アドインの開発ができるのですが、このままだとアドイン実行時に証明書エラーが表示されてしまうので、「信頼されたルート証明機関」に自己署名証明書を追加する必要があります。
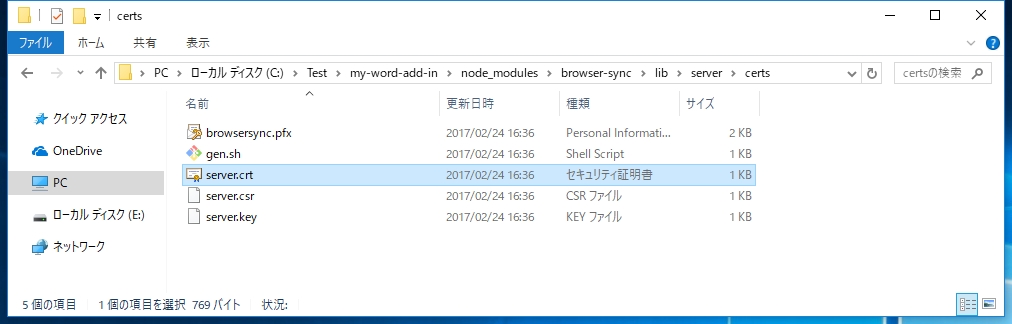
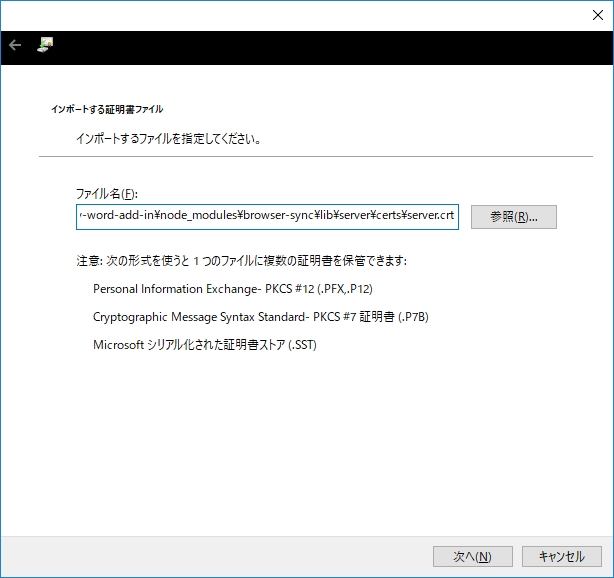
- YO OFFICEを使って出力したひな型フォルダの中に、証明書ファイル(server.crt)があることを確認します(例:C:\Test\my-word-add-in\node_modules\browser-sync\lib\server\certs\server.crt)。
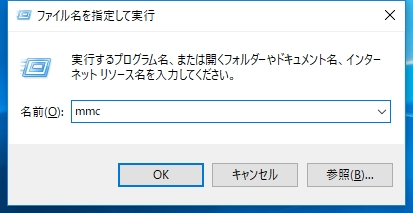
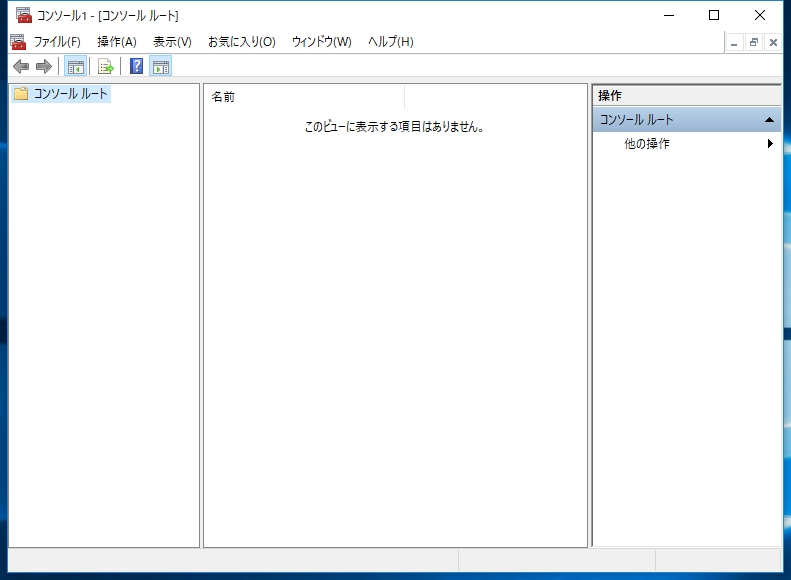
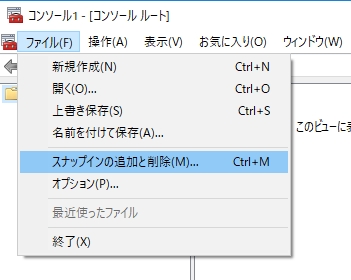
- 「ファイル名を指定して実行」(Win + Rキー)から「mmc」(管理コンソール)を実行します。
- 「ファイル」メニューから「スナップインの追加と削除」をクリックします。
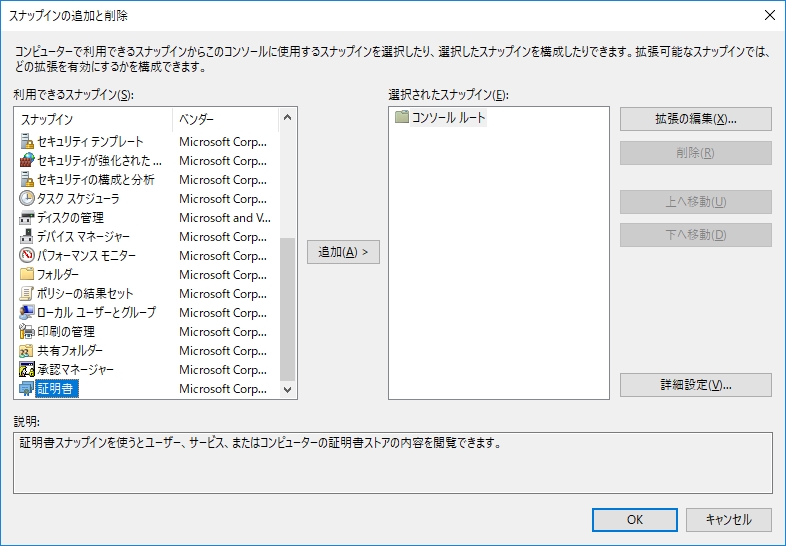
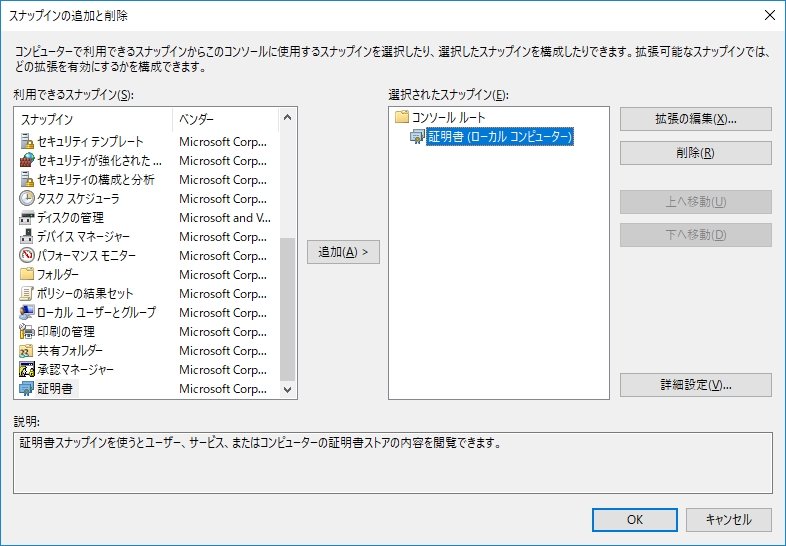
- スナップインの追加と削除画面が表示されるので、「証明書」を選択した後「追加」ボタンをクリックします。
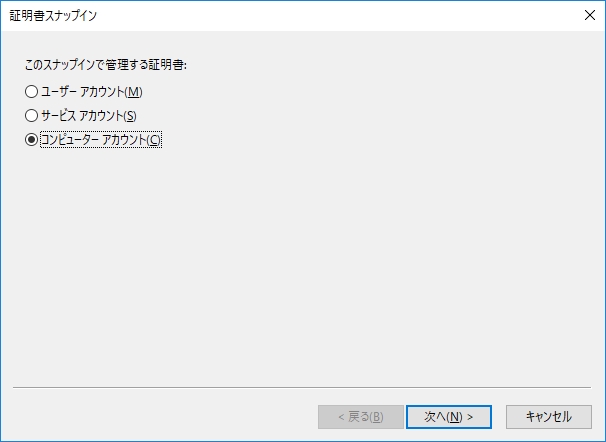
- 証明書スナップイン画面が表示されたら、「コンピューター アカウント」を選択し、「次へ」ボタンをクリックします。
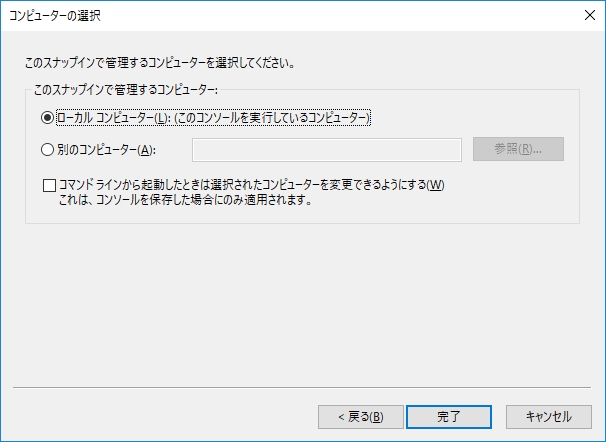
- コンピューターの選択画面が表示されたら、「ローカル コンピューター(L): (このコンソールを実行しているコンピューター)」を選択し、「完了」ボタンをクリックします。
- スナップインの追加と削除画面に戻ったら、選択されたスナップインに証明書が追加されていることを確認し、「OK」ボタンをクリックします。
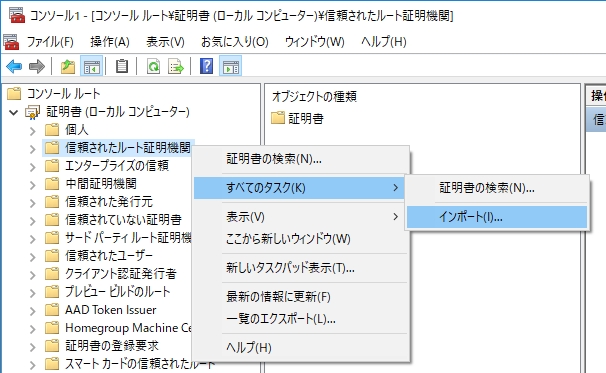
- 管理コンソール画面が表示されたら、「信頼されたルート証明機関 → すべてのタスク」から「インポート」をクリックします。
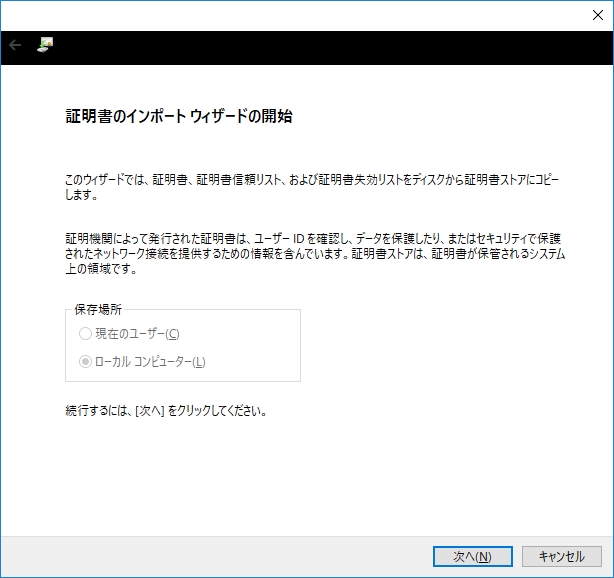
- 証明書のインポート ウィザードの開始画面が表示されたら「次へ」ボタンをクリックします。
- インポートする証明書ファイル画面が表示されたら、手順1.の証明書ファイルを選択し、「次へ」ボタンをクリックします。
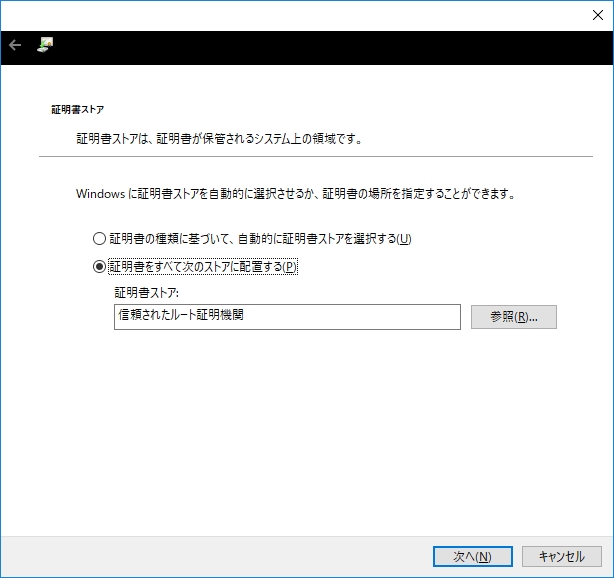
- 証明書ストア画面が表示されたら、「証明書をすべて次のストアに配置する」がチェックされ、証明書ストアとして「信頼されたルート証明機関」が選択されていることを確認し、「次へ」ボタンをクリックします。
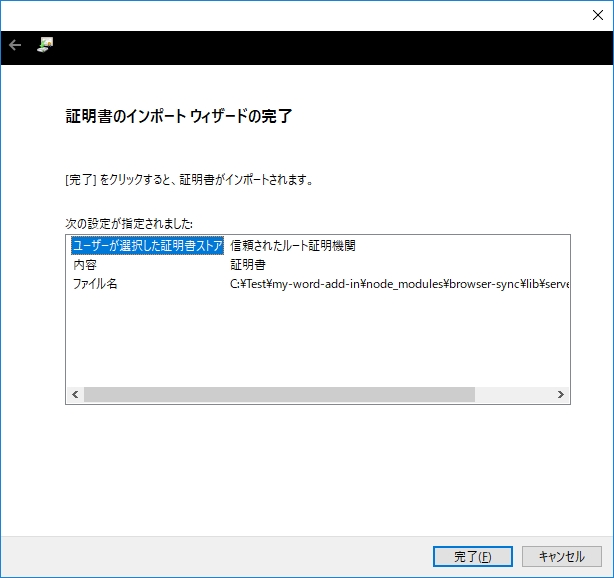
- 証明書のインポート ウィザードの完了画面が表示されたら「完了」ボタンをクリックします。
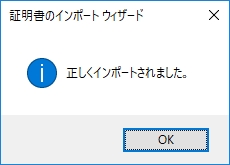
- 「正しくインポートされました。」とのメッセージが表示されたら、証明書の追加作業は終了です。
ローカルサーバーの起動
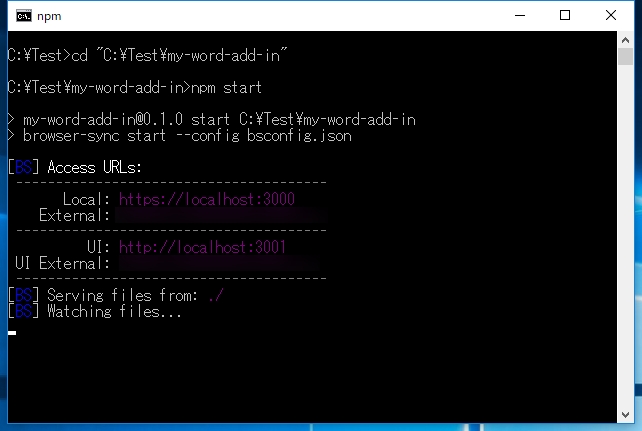
証明書の追加作業終了後、コマンドプロンプトから出力したひな型フォルダ(例:C:\Test\my-word-add-in)に移動し、下記コマンドを実行すると、ローカルサーバーが起動します。
npm start
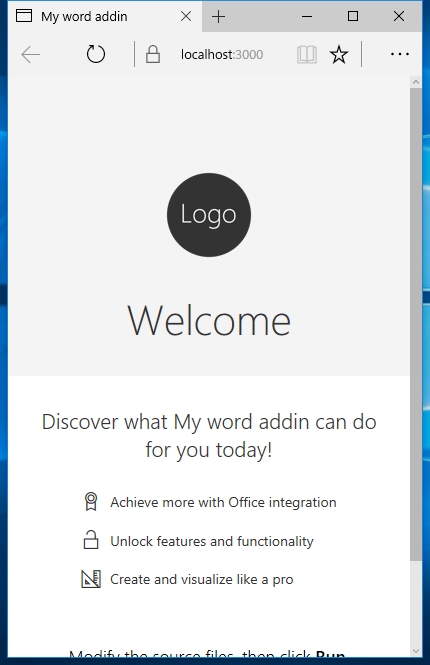
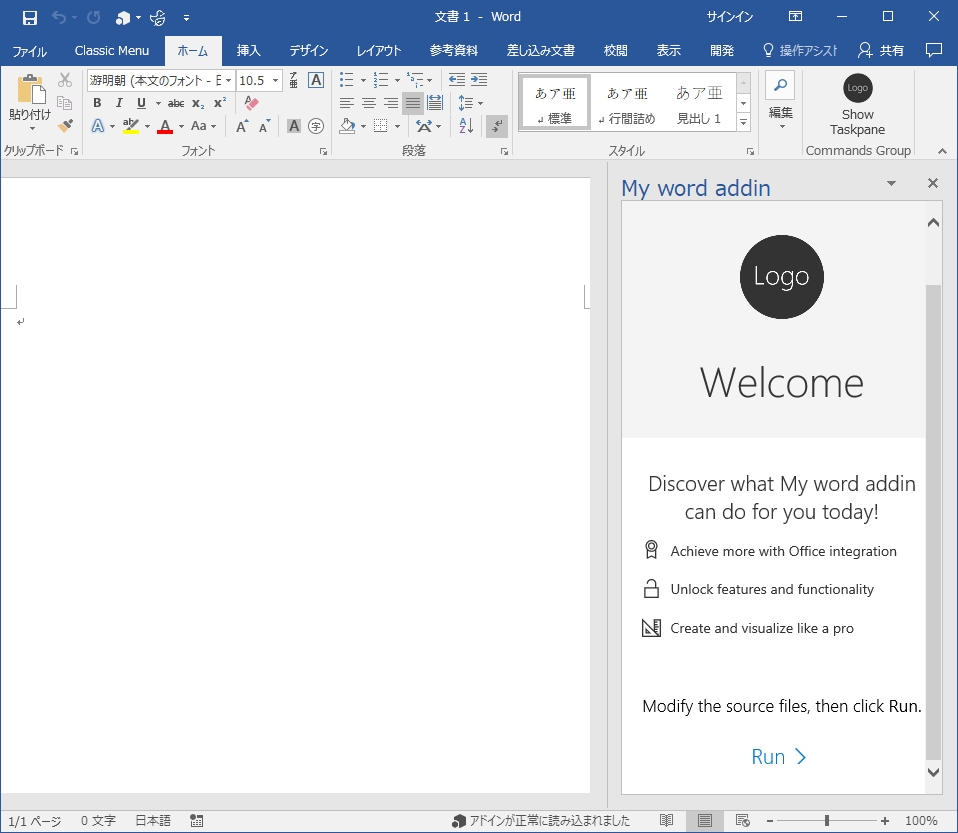
Office アドインの動作確認
YO OFFICEによって出力したひな型一式には、アドインのマニフェストファイル(例:C:\Test\my-word-add-in\my-word-add-in-manifest.xml)が含まれています。
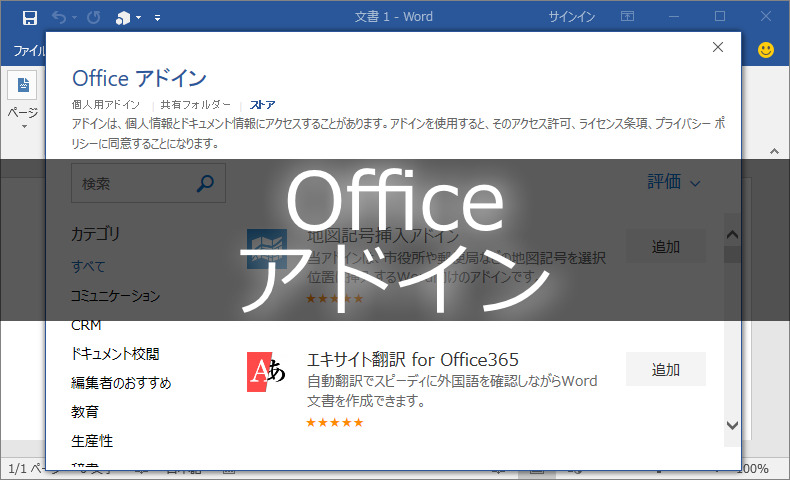
このマニフェストファイルを“共有フォルダ”にコピーすると、YO OFFICEで指定したOfficeアプリケーション(WordやExcel等)でアドインとして読み込むことができます。
共有フォルダの設定方法は下記記事をご参照ください。

マニフェストファイル内容
YO OFFICEで出力したマニフェストファイルは下記のようになっていました。
<?xml version="1.0" encoding="UTF-8"?>
<OfficeApp
          xmlns="http://schemas.microsoft.com/office/appforoffice/1.1"
          xmlns:xsi="http://www.w3.org/2001/XMLSchema-instance"
          xmlns:bt="http://schemas.microsoft.com/office/officeappbasictypes/1.0"
          xmlns:ov="http://schemas.microsoft.com/office/taskpaneappversionoverrides"
          xsi:type="TaskPaneApp">

  <!-- Begin Basic Settings: Add-in metadata, used for all versions of Office unless override provided. -->

  <!-- IMPORTANT! Id must be unique for your add-in, if you reuse this manifest ensure that you change this id to a new GUID. -->
  <Id>********-****-****-****-************</Id>

  <!--Version. Updates from the store only get triggered if there is a version change. -->
  <Version>1.0.0.0</Version>
  <ProviderName>[Provider name]</ProviderName>
  <DefaultLocale>en-US</DefaultLocale>
  <!-- The display name of your add-in. Used on the store and various places of the Office UI such as the add-ins dialog. -->
  <DisplayName DefaultValue="My word addin" />
  <Description DefaultValue="[Document Add-in description]"/>

  <!-- Icon for your add-in. Used on installation screens and the add-ins dialog. -->
  <IconUrl DefaultValue="https://localhost:3000/assets/icon-32.png" />
  <HighResolutionIconUrl DefaultValue="https://localhost:3000/assets/icon-80.png"/>

  <!--If you plan to submit this add-in to the Office Store, uncomment the SupportUrl element below-->
  <!--<SupportUrl DefaultValue="[Insert the URL of a page that provides support information for the app]">-->

  <!-- Domains that will be allowed when navigating. For example, if you use ShowTaskpane and then have an href link, navigation will only be allowed if the domain is on this list. -->
  <AppDomains>
    <AppDomain>AppDomain1</AppDomain>
    <AppDomain>AppDomain2</AppDomain>
    <AppDomain>AppDomain3</AppDomain>
  </AppDomains>
  <!--End Basic Settings. -->

  <!--Begin TaskPane Mode integration. This section is used if there are no VersionOverrides or if the Office client version does not support add-in commands. -->
  <Hosts>
    <Host Name="Document" />
  </Hosts>
  <DefaultSettings>
    <SourceLocation DefaultValue="https://localhost:3000/index.html" />
  </DefaultSettings>
  <!-- End TaskPane Mode integration.  -->

  <Permissions>ReadWriteDocument</Permissions>

  <!-- Begin Add-in Commands Mode integration. -->
  <VersionOverrides xmlns="http://schemas.microsoft.com/office/taskpaneappversionoverrides" xsi:type="VersionOverridesV1_0">

    <!-- The Hosts node is required. -->
    <Hosts>
      <!-- Each host can have a different set of commands. -->
      <!-- Excel host is Workbook, Word host is Document, and PowerPoint host is Presentation. -->
      <!-- Make sure the hosts you override match the hosts declared in the top section of the manifest. -->
      <Host xsi:type="Document">
        <!-- Form factor. Currently only DesktopFormFactor is supported. -->
        <DesktopFormFactor>
          <!--"This code enables a customizable message to be displayed when the add-in is loaded successfully upon individual install."-->
          <GetStarted>
            <!-- Title of the Getting Started callout. resid points to a ShortString resource -->
            <Title resid="Contoso.GetStarted.Title"/>

            <!-- Description of the Getting Started callout. resid points to a LongString resource -->
            <Description resid="Contoso.GetStarted.Description"/>

            <!-- Point to a url resource which details how the add-in should be used. -->
            <LearnMoreUrl resid="Contoso.GetStarted.LearnMoreUrl"/>
          </GetStarted>
          <!-- Function file is a HTML page that includes the JavaScript where functions for ExecuteAction will be called.
            Think of the FunctionFile as the code behind ExecuteFunction. -->
          <FunctionFile resid="Contoso.DesktopFunctionFile.Url" />

          <!-- PrimaryCommandSurface is the main Office Ribbon. -->
          <ExtensionPoint xsi:type="PrimaryCommandSurface">
            <!-- Use OfficeTab to extend an existing Tab. Use CustomTab to create a new tab. -->
            <OfficeTab id="TabHome">
              <!-- Ensure you provide a unique id for the group. Recommendation for any IDs is to namespace using your company name. -->
              <Group id="Contoso.Group1">
                <!-- Label for your group. resid must point to a ShortString resource. -->
                <Label resid="Contoso.Group1Label" />
                <!-- Icons. Required sizes 16,32,80, optional 20, 24, 40, 48, 64. Strongly recommended to provide all sizes for great UX. -->
                <!-- Use PNG icons. All URLs on the resources section must use HTTPS. -->
                <Icon>
                  <bt:Image size="16" resid="Contoso.tpicon_16x16" />
                  <bt:Image size="32" resid="Contoso.tpicon_32x32" />
                  <bt:Image size="80" resid="Contoso.tpicon_80x80" />
                </Icon>

                <!-- Control. It can be of type "Button" or "Menu". -->
                <Control xsi:type="Button" id="Contoso.TaskpaneButton">
                  <Label resid="Contoso.TaskpaneButton.Label" />
                  <Supertip>
                    <!-- ToolTip title. resid must point to a ShortString resource. -->
                    <Title resid="Contoso.TaskpaneButton.Label" />
                    <!-- ToolTip description. resid must point to a LongString resource. -->
                    <Description resid="Contoso.TaskpaneButton.Tooltip" />
                  </Supertip>
                  <Icon>
                    <bt:Image size="16" resid="Contoso.tpicon_16x16" />
                    <bt:Image size="32" resid="Contoso.tpicon_32x32" />
                    <bt:Image size="80" resid="Contoso.tpicon_80x80" />
                  </Icon>

                  <!-- This is what happens when the command is triggered (E.g. click on the Ribbon). Supported actions are ExecuteFunction or ShowTaskpane. -->
                  <Action xsi:type="ShowTaskpane">
                    <TaskpaneId>ButtonId1</TaskpaneId>
                    <!-- Provide a url resource id for the location that will be displayed on the task pane. -->
                    <SourceLocation resid="Contoso.Taskpane.Url" />
                  </Action>
                </Control>
              </Group>
            </OfficeTab>
          </ExtensionPoint>
        </DesktopFormFactor>
      </Host>
    </Hosts>

    <!-- You can use resources across hosts and form factors. -->
    <Resources>
      <bt:Images>
        <bt:Image id="Contoso.tpicon_16x16" DefaultValue="https://localhost:3000/assets/icon-16.png" />
        <bt:Image id="Contoso.tpicon_32x32" DefaultValue="https://localhost:3000/assets/icon-32.png" />
        <bt:Image id="Contoso.tpicon_80x80" DefaultValue="https://localhost:3000/assets/icon-80.png" />
      </bt:Images>
      <bt:Urls>
        <bt:Url id="Contoso.Taskpane.Url" DefaultValue="https://localhost:3000/index.html" />
        <bt:Url id="Contoso.GetStarted.LearnMoreUrl" DefaultValue="https://go.microsoft.com/fwlink/?LinkId=276812" />
        <bt:Url id="Contoso.DesktopFunctionFile.Url" DefaultValue="https://localhost:3000/function-file/function-file.html" />
      </bt:Urls>
      <!-- ShortStrings max characters==125. -->
      <bt:ShortStrings>
        <bt:String id="Contoso.TaskpaneButton.Label" DefaultValue="Show Taskpane" />
        <bt:String id="Contoso.Group1Label" DefaultValue="Commands Group" />
        <bt:String id="Contoso.GetStarted.Title" DefaultValue="Get started with your sample add-in!" />
      </bt:ShortStrings>
      <!-- LongStrings max characters==250. -->
      <bt:LongStrings>
        <bt:String id="Contoso.TaskpaneButton.Tooltip" DefaultValue="Click to Show a Taskpane" />
        <bt:String id="Contoso.GetStarted.Description" DefaultValue="Your sample add-in loaded succesfully. Go to the HOME tab and click the 'Show Taskpane' button to get started." />
      </bt:LongStrings>
    </Resources>
  </VersionOverrides>
  <!-- End Add-in Commands Mode integration. -->

</OfficeApp>
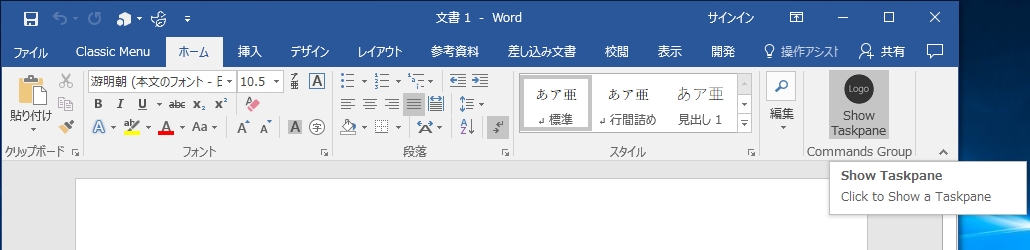
上記マニフェストファイルを見れば分かる通り、「アドイン コマンド(Add-In Commands)」にも対応しています。
おわりに
以上のように、YO OFFICE(Yeoman)を使うことで、簡単にOffice アドインの土台を作ることができます。
また、Browsersyncによって、そのままアドインの動作確認を行うこともできるので、Visual Studioを使わずにOffice アドイン開発を始めるのに、YO OFFICEは非常に役立つツールと言えます。
さらに、YO OFFICEはLinuxやMacといった、Windows以外の環境でも使うことができるので(アドインの動作確認はOffice Online使用)、普段Windowsを使っていないWebアプリ開発者の方で、Office開発に興味がある方は是非一度お試しください。
参考Webページ
- GitHub – OfficeDev/generator-office: Yeoman generator for building Microsoft Office related projects.
- https://github.com/OfficeDev/generator-office
- Adding Self-Signed Certificates as Trusted Root Certificate
- https://github.com/OfficeDev/generator-office/blob/master/src/docs/ssl.md
- Creating add-ins gets easier ? announcing updates to Yo Office
- https://dev.office.com/blogs/creating-add-ins-gets-easier-announcing-updates-to-yo-office


この記事へのコメントはありません。